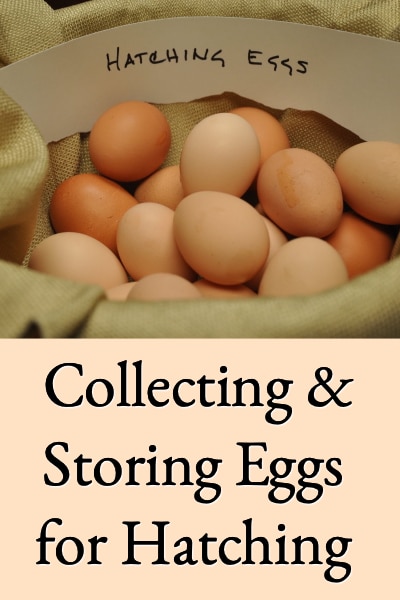
So, regardless of whether you want to collect and hatch eggs by putting them under a broody hen or in an incubator, spring is the prime time of year for doing it.
Hatching your own eggs can be more fun and economical than buying chicks, so chicken keepers often hatch eggs to increase flock size, replace older hens, add hens of new breeds, or just for the joy of spring babies.
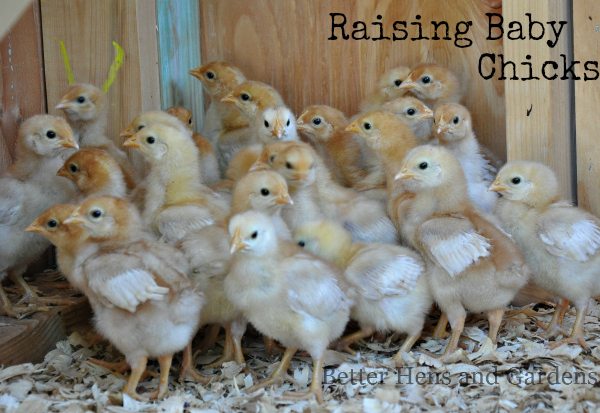
Who doesn’t love watching fluffy baby chicks as the days get warmer and sunnier in spring? Children, in particular, like to participate in hatching and are both fascinated and delighted by the process.
But, hatch rates (the percentage of chicks that successfully hatch) can vary dramatically depending on the practices used for collecting and storing the eggs prior to hatching them.
It can also vary greatly based on whether an incubator is used or whether the eggs are hatched by a broody hen. A 50% or below hatch rate is considered low, 75% about average, and 90% is considered good.
It’s very important to handle eggs correctly prior to incubation to insure a good hatch. Follow these simple practices for collecting and storing them to assure viable eggs and healthy chicks.
How To Collect & Store Eggs for Hatching
It’s natural for a hen to collect eggs for several days before beginning to sit on them (which is when the dormant embryos within the eggs begin developing), so we can copy nature and collect eggs for several days before placing them in an incubator or under a broody hen too.
The eggs should all be placed for incubation at the same time so that the chicks will develop and hatch together. A hen instinctively selects conditions that are best for storing her eggs, and it’s essential that we mimic her behavior and handle eggs in a way that promotes (rather than weakens) the future development of chicks once incubation commences.
COLLECT FERTILE EGGS FOR HATCHING
In order to hatch chicks, the eggs used must be fertilized by a rooster. So, you need to find a source of eggs (of the breed desired) where a rooster or roosters have mated with the hens and produced fertile eggs. It’s unlikely that eggs from the grocery store are fertile because roosters aren’t usually kept with the hens producing them, so don’t plan on hatching eggs from the store.
If you have access to a flock producing fertile eggs, remember that young hens and roosters are usually more fertile than older chickens. No matter how old, chickens are also generally more fertile in the spring than any other time of the year. You can’t tell when collecting the eggs whether they are actually viable (although after setting the eggs for incubation, you can candle them to see if they are developing), so collecting eggs from mature younger birds in the springtime is a good practice.
If you can’t find a flock that you can collect fertile eggs from, they can be ordered by mail or online from hatcheries and breeders. However, eggs that are mailed may be subjected to heat, cold, and bumps that reduce egg viability and hatch rates.
When gathering eggs, there is no reliable method for determining the sex of the chicks prior to hatching, so the best you can do is to figure on about 50% each of hens and roosters, and plan accordingly.
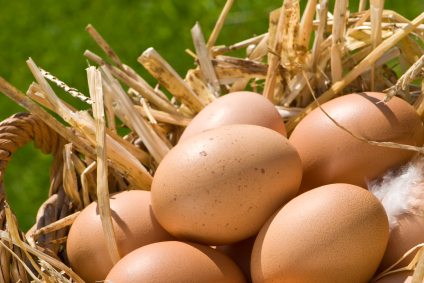
Freshly Laid Eggs
COLLECT CLEAN EGGS
Chicken egg incubation temperature and humidity are ideal for the growth of bacteria, so it is essential that eggs collected for hatching are clean. If bacteria enter the egg, they can cause it to rot, and explode during incubation thereby contaminating the remaining incubating eggs.
However, hatching eggs should not be washed because that removes the protective “egg bloom”. Just before laying an egg, the hen adds a protective layer called “bloom” or cuticle to the outside of the egg. This coating seals the shell pores, helps prevents bacteria from getting inside the shell, and reduces moisture loss from the egg – all designed to make the egg last longer and hatch better.
The best method to ensure your hatching eggs are clean is to have fresh bedding such as straw or pine shavings in your coop and nest boxes and collect the eggs several times each day to ensures your eggs will be clean and soil-free.
SAVE “NORMAL” EGGS FOR STORING & HATCHING
In addition to selecting only the cleanest eggs for hatching, select eggs that are “normal” in shape, size, and color for the breed you are hatching. Don’t use any eggs that are oddly shaped, have wrinkled shells, have cracks, or are abnormal in any way.
Remove small eggs produced by pullets or older hens as these typically hatch smaller, less vigorous chicks. Double yolk eggs also rarely hatch, so eliminate any eggs that might contain multiple yolks (these are usually abnormally large eggs).
Be highly selective about the appearance and condition of eggs to be used for hatching, since this directly influences the likelihood of success and promotes high hatch rates.
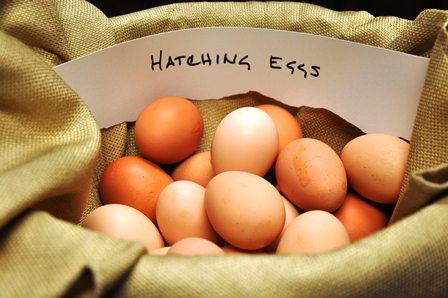
Clean Chicken Eggs Collected for Hatching
USE OPTIMAL TEMPERATURE & HUMIDITY
Hatching eggs should ideally be stored out of sunlight at a temperature as close to 55°F as possible. If the optimal temperature can’t be achieved, then a temperature range of 45 – 60°F should be maintained.
Don’t let the eggs that you plan to hatch go below 40°F or above 68°F, as below 40°F will kill the embryo within the egg and above 68°F will cause the embryo to begin developing prematurely. Don’t put hatching eggs in the refrigerator because temperatures tend to be too cold and may destroy the embryo.
Humidity during storage should be low enough that moisture doesn’t condense on the shells and the eggs don’t mold, but high enough that moisture doesn’t evaporate from the eggs. Storing eggs in too moist an environment causes bacteria to multiply more rapidly and increases the chance of molding, whereas storing them in an air-conditioned or excessively dry environment increases the rate at which moisture evaporates, all of which decreases hatchability.
WHEN COLLECTING & STORING EGGS FOR HATCHING, HANDLE THEM CAREFULLY
Wash your hands before touching hatching eggs and avoid handling them individually by storing them in clean egg cartons immediately after collecting them. Hard plastic egg cartons can be used (and reused) if they are first disinfected, but use new foam or cardboard egg cartons. Reused cartons made from these materials might transmit bacteria from old eggs. Place the eggs in the carton with the large end up and the small end down to keep the egg yolk centered within the white.
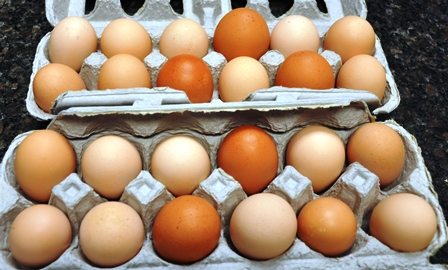
Storing Eggs for Hatching
In nature, the mother hen regularly turns her eggs to prevent the yolks from sticking to the inside of the shell. Mimic this behavior by raising one end of the egg carton slightly (place a shim of some type under the end to keep the carton raised), and then raising the other end of the egg carton the next time, alternately raising the ends of the carton two or three times a day. Don’t drop or jostle the eggs or the fragile embryos may be damaged.
START INCUBATION PROMPTLY
The viability of eggs stored for hatching begins to decrease after approximately six days, so don’t plan to store your eggs too long before placing them into the incubator or under a broody hen. Also, the longer eggs are stored, the longer they will take to hatch.
The better hatches come from eggs that have had a twelve to twenty-four-hour rest period prior to incubation. In other words, an egg laid today should go into the incubator tomorrow.
Although it’s tempting to buy chicks at the feed store or via mail order, it can be more cost-effective, fun, and rewarding to hatch them yourself. By following these simple practices for selecting and maintaining eggs intended for hatching, you can ensure that you’re setting eggs for incubation that can successfully hatch.
If the eggs are placed under a broody hen, she’ll instinctively do the rest of the work for you (although you should provide her with her own broody box isolated from other hens – see Building A Broody Box). If the eggs are placed in an incubator, be sure to follow the instructions for maintaining temperature, humidity, and turning precisely. Either way, in approximately twenty-one days you’ll have the most adorable little babies around! For tips on raising them, see Raising Day-Old Chicks.
TIPS FOR SELECTING AN INCUBATOR FOR HATCHING EGGS
Incubators for hatching chicken eggs vary tremendously in price, construction materials, and features. The simplest are inexpensive, hatch a few eggs, and require lots of maintenance during incubation; while more elaborate models can hatch hundreds of eggs, require very little maintenance, but can be quite expensive.
So, the best incubator for home hatching depends on your needs. If you plan on hatching large numbers of eggs frequently and have little time to precisely maintain conditions, then it’s worthwhile to spend more on better construction materials and automatic features.
The most common, inexpensive incubators are tabletop models constructed from Styrofoam. These typically hold around 40 eggs and can be a good option if you’re not planning to hatch often. Styrofoam models are not easy to disinfect; however, and bacteria buildup can become a problem after a few hatches. Models constructed from more durable materials are easier to disinfect but are more costly.
For controls, the most inexpensive incubators are still-air models with a built-in heat source, but you must manually maintain heat and humidity while also hand-turning the eggs several times daily. Better models utilize a fan, automatically maintain heat and humidity, and turn the eggs.
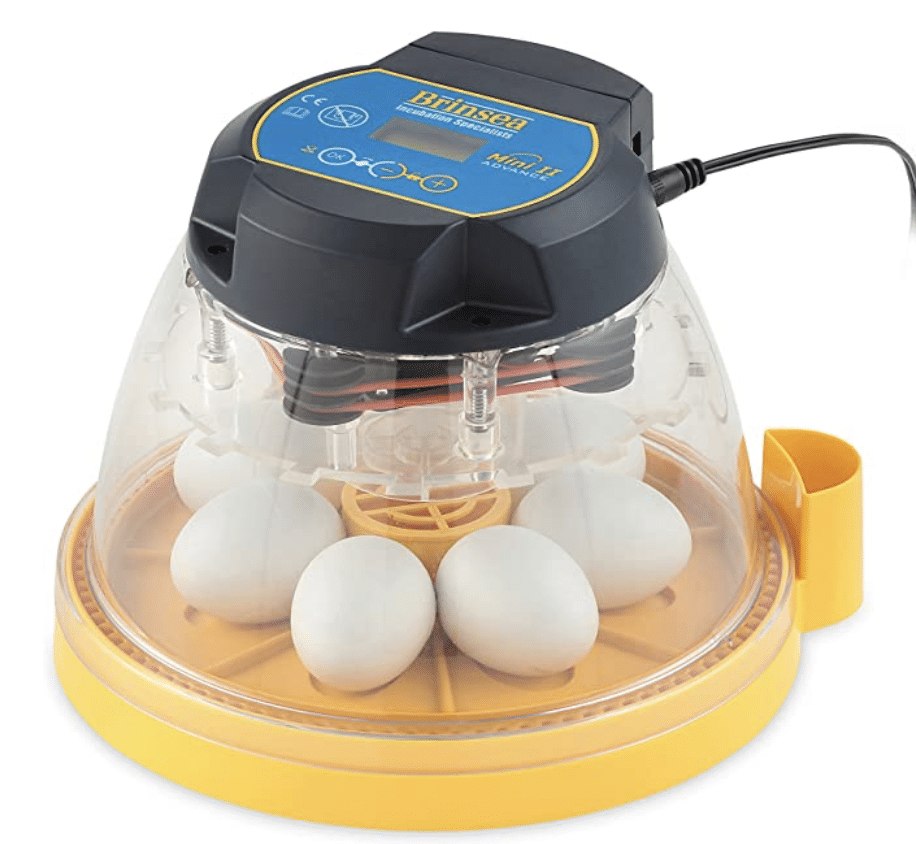
Brinsea Automatic 7 Egg Incubator
While more expensive than the still-air models, incubators that precisely control heat, humidity, and egg turning are often well worth the investment. They can save a great deal of time, and typically produce much better hatch rates.
There are also precisely controlled, miniature incubators available that hatch just a few eggs, or used incubators in good condition are another option (just make sure to get the manual so you understand the controls). Whatever the final choice, make sure you’ve considered how many eggs and how frequently you want to hatch, the construction materials, and the amount of time required for precisely maintaining conditions to find the perfect model for your needs.
Ricardo Julio Estrada says
Outside is about 80+ F and inside the house is about 71F, There is no place between 55 and 68 Degrees F almost anywhere; Where should I store the eggs?
Also, if I put today’s egg in the incubator and the tomorrow and the day after. Won’t they hatch at different times?
Lesa says
Hi Ricardo,
I guess you’ll just have to keep them as cool as you can and place them in the incubator as soon as you’ve got enough eggs collected. No cool basement or root cellar you could use? Also, yes if you place them in the incubator on different days they’ll hatch at different times. That’s why the article above was written, to explain how to collect them and store them until you can place them all in the incubatore together.
It says “It’s natural for a hen to collect eggs for several days before beginning to sit on them (which is when the dormant embryos within the eggs begin developing), son we can copy nature and collect eggs for several days before placing them in an incubator or under a broody hen too. The eggs should all be placed for incubation at the same time so that the chicks will develop and hatch together.”
Carla says
Is there some reason to not let the hens flow their own instincts, if you have the roosters and brooding boxes?
Denise says
I am wanting one of my hens to hatch the eggs. Do I still collect them and then put them back in the nesting box when I have maybe 10 eggs or do I just leave them in the nesting box each day and see if the hen becomes broody? I don’t want to use an incubator.
Cynthia says
What is the optimal amount of days would you suggest before putting them in the incubator from resting? I thought that moving them straight to it would be best but after reading posts, I may have made a mistake.
Lesa says
Hi Cynthia, I would agree that the sooner you can get them in the incubator and start the hatching process, the better your chances for success.
Angie says
Hi Lesa,
I want to try my hand at incubating eggs. However, I work 12 hour days and don’t generally get to collect eggs until the end of the day. It can still get pretty cold in western Nebraska this time of year and by the time I collect eggs they are cold.
Is this going to be a deal breaker for fertilized eggs or should I try hatching them anyway?
Lesa says
Hi Angie,
I don’t think it should be a deal breaker if they get a little cold during their first day, as long as they don’t freeze. Give it a try and let me know how it goes!
Elizabeth says
Hi,
where about’s is a good place to store the eggs? Because I’ve heard that they shouldn’t get too hot or too cold. At the moment we are storing them in a lower cupboard. But the room that it’s in does get a little cold throughout the night. Would that still be alright?
Thank you!
Lesa says
Hi Elizabeth, really you’re trying to keep them about 55 Degrees Fahrenheit. Probably a little too cold is better than too hot.
Elizabeth says
Awesome, thank you! 🙂
Jack Harris says
Hello,
The blog is a benefit and useful.
Thank you for share us