The Honeybee Hive Inspection
Step 1 – Get the Smoker Going & Put On Protective Gear
Before inspecting the hive(s), the first thing to do is get the hive smoker going. It’s really important to make sure the smoker is working well – you wouldn’t want the fire going out mid-inspection.
Then make sure to put on all the proper protective gear.
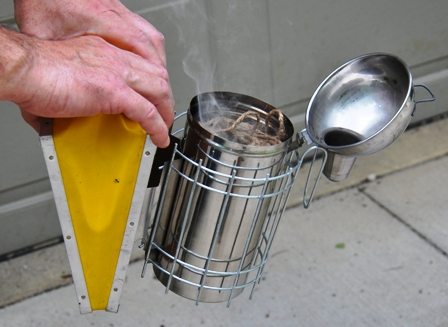
Make Sure Your Smoker Is Going Well
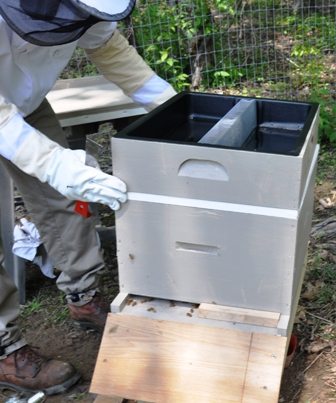
Step 2 – Remove The Top Feeder
Carefully remove the top cover and top feeder to start the hive inspection.
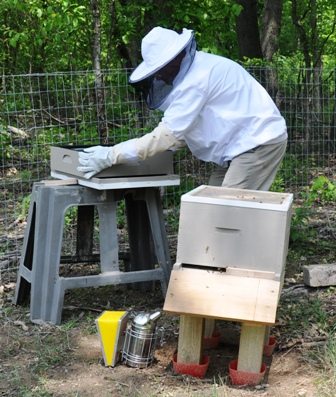
Removing the Top Feeder
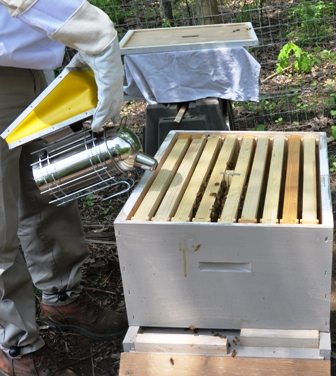
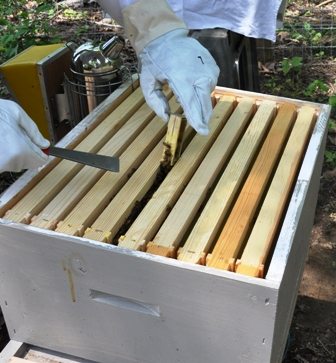
Step 3 – Open Up the Hive
Open up the hive, making sure that the smoker is in action (in the bottom left corner of the photo).

Opening Up the Beehive
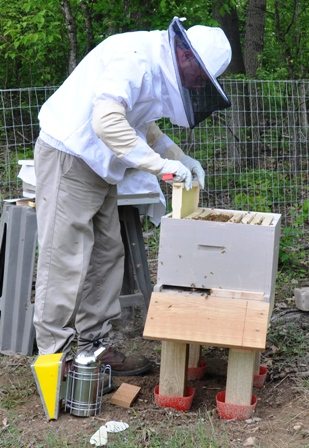
Step 4 – Remove the Queen’s Container
Use the smoker to calm the bees before going in, and remove the queen’s box.
Smoking the Bees
Here the queen’s box is being removed, to determine whether she’s been released into the hive yet.
Removing the Queen’s Container
Step 5 – Inspect the Queen’s Container
Confirm the queen’s box is empty and that her workers successfully ate their way through the “candy” plug at the end of the box releasing her into the hive! At this step, it’s possible that the Queen hasn’t been released yet. In that case, put everything back together and wait a couple more days before inspecting again.
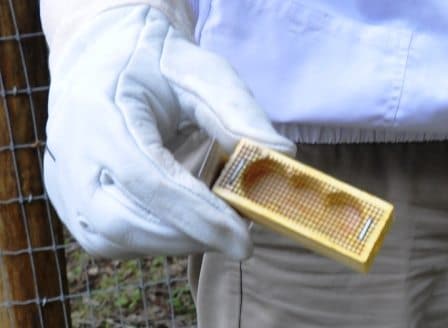
The Queen’s Container Is Empty – She’s Hopefully Doing Well!
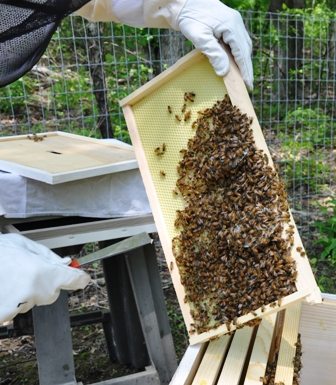
Step 6 – Inspect the Hive & Check for Eggs
Inspect the hive and check for eggs to see if the queen is laying. At this point, you can inspect each of the frames, both to see if you can find the queen and to see whether she’s started laying eggs yet. If you can find the queen or you find eggs, then you know the queen has been successfully released, accepted by the worker bees, and your new hive is off to a good start.
The inspection shown here was only a few days after installing the queen so there were no eggs yet. But, the bees have built some burr comb (the white-looking stuff beneath the bees) on one frame, which needed to be removed.
Burr Comb Found On The Frame
Preparing to remove the burr comb.
Preparing To Remove Burr Comb
Here’s what the burr comb looks like after being removed from the frames.

Burr Comb
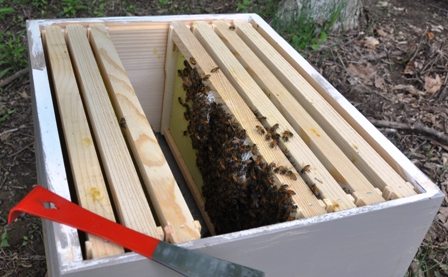
Step 7 -Reassemble the Hive
After finishing the inspection of the frames and bees, the frames go back in.
Reinstalling Frames
Then the top feeder goes on.
Adding the Top Feeder
And, the first inspection is successfully completed! Everything looking good, the bees are busy bringing back supplies, so there’s a good chance the queen has survived and we’ll see eggs at the next inspection.

Reassembled Hive After Inspection
Carol L says
Why remove the “Burr Comb”?
Doug Penning says
It might be a good idea to mention that a beekeeper needs to wait at least four or five days before checking to see if the queen is released. Also, if the queen is not released, what to do and what to look for as far as the workers around the queen cage are concerned.